Want to know what 78% of Google searches have in common? They’re dominated by one format: the almighty listicle.
But it’s not just a fad. Listicles are quickly becoming a reader favorite, with over 80% of people preferring the listicle format over others. Their bite-sized chunks and clear takeaways are perfect for the short attention span of today’s audience.
And guess what? With SurgeGraph, you can tap into this listicle goldmine effortlessly. Read on to learn how to write click-driving listicles with SurgeGraph.
Why Use SurgeGraph?
Here are the advantages of using SurgeGraph to craft listicles:
1. It’s a CTR booster
Titles are catchy, magnetic, and stand out, enticing readers to click and engage with the content.
The featured items in the listicles are curated based on what works well within the top 10 search engine results pages.
4. SEO-optimized for high rankings
Listicles are optimized for search engines to secure high rankings and massive traffic.
Next, we’ll go over the step-by-step process of writing a listicle with SurgeGraph.
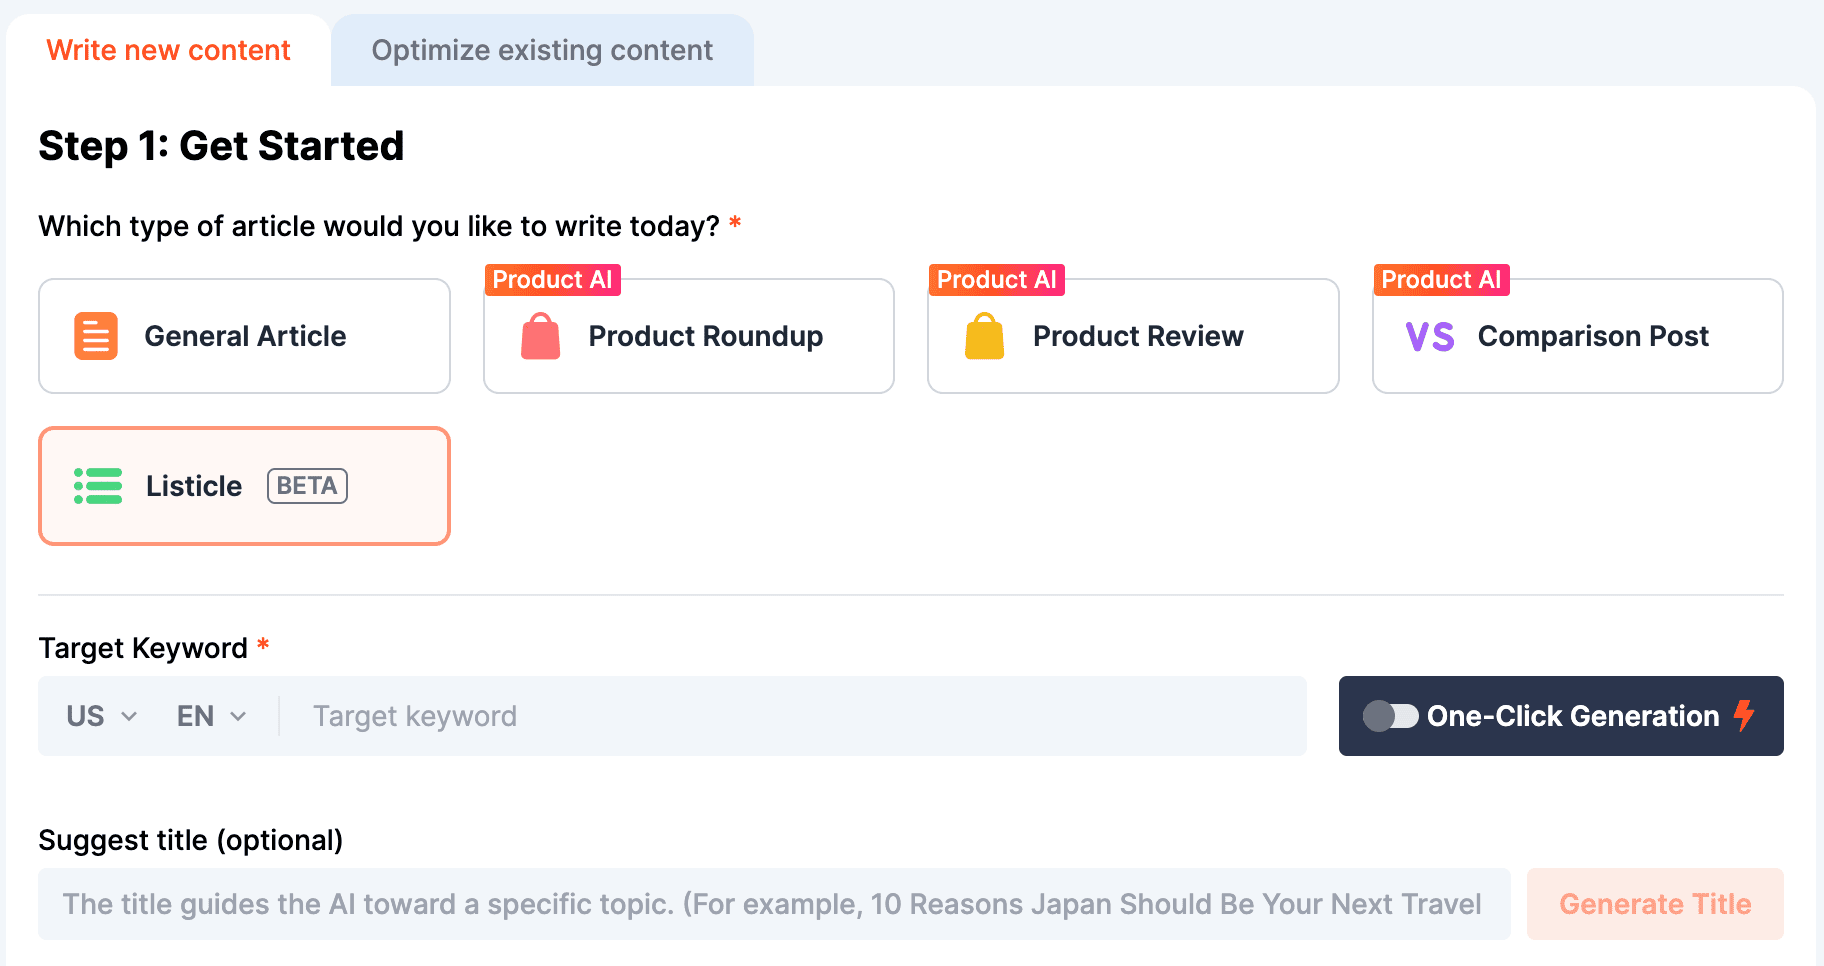
Step 1: Insert Target Keyword & Specify The Title
Start with the target keyword – the keyword you want your listicle to rank for.
To choose the best target keyword, consider its relevance to your content and its search volume.
Aim for keywords with high search volume and low difficulty to improve your chances of ranking. (Bonus: if you’re using SurgeGraph’s Keyword Research Tool, you get access to these keyword data!)
Next, insert a title for the listicle, although this is 100% optional. You can hit “Generate Title” for inspiration. If you leave this blank, SurgeGraph will craft a catchy title for you.
Specifying a title gives clearer guidance to the AI on a specific topic or direction.
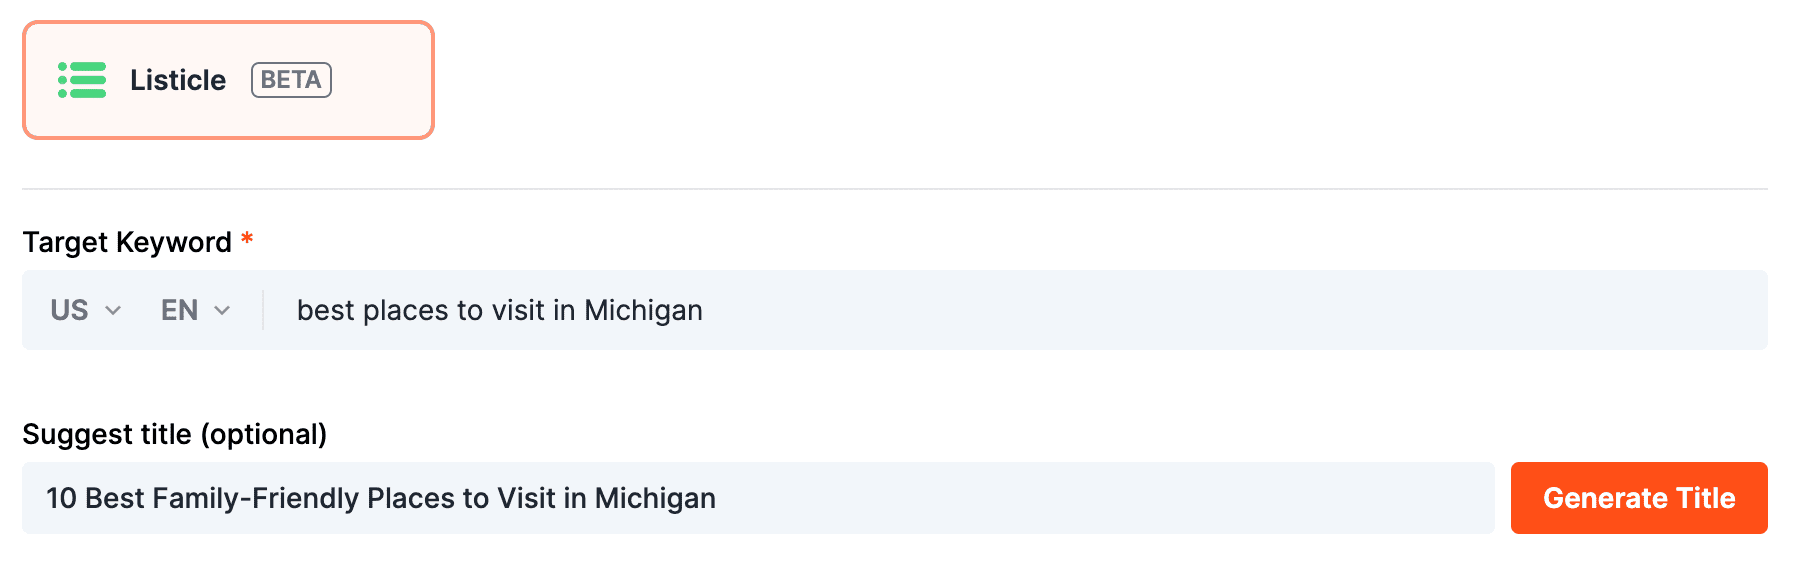
For example, let’s say you want to write a listicle about the best places to visit in Michigan for families.
You decide that the target keyword would be: “best places to visit in Michigan”. It’s a good keyword, but it’s broad and might include places that are not so family-friendly.
To narrow the focus, you can then specify the title like so: “10 Best Family-Friendly Places to Visit in Michigan”.
Step 2: Specify Item List
Want to try SurgeGraph for free?
Generate 20 documents
SEO tools (Auto Optimizer, Internal Linking, and more)
When creating your listicle, the item list is crucial. It should consist of relevant and top-quality items related to your topic.
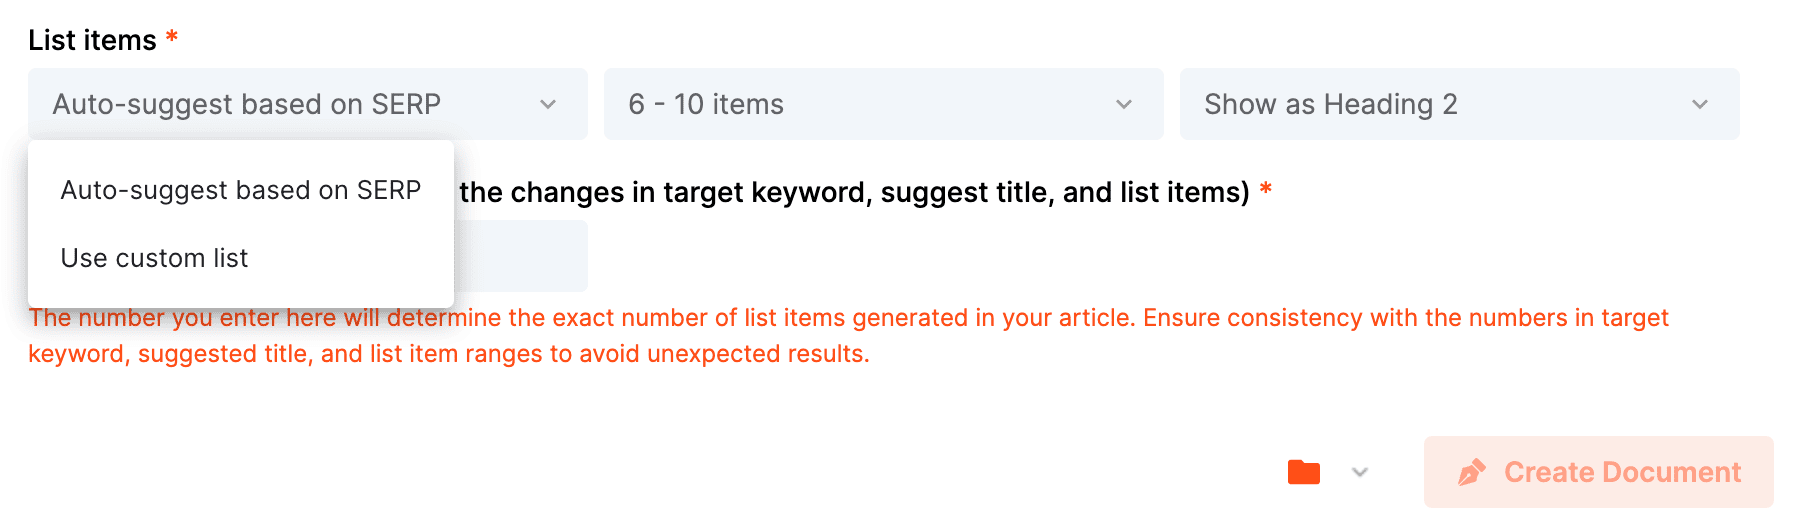
SurgeGraph offers two options for generating this list:
Auto Suggest from SERP: This feature saves time by crawling the top 10 pages ranking for the keyword, extracting the items, and using them in your content
Custom List Input: You have the flexibility to input your own list according to your preferences and needs.
If you opt for “Auto Suggest from SERP”, you can specify how many items you want in your list.
If you can’t decide, do a quick Google search for your target keyword, eyeball the average number of items featured by the top-ranking pages, and then use it for your own.
You also have control over whether to display the items as H2 or H3 headings based on your preferred structure.
Once these selections are made, simply click “Create Document,” wait for it to load completely, then proceed to the next step by clicking on the document.
Overall, this process ensures that you have a well-crafted item list that aligns with both your preferences and SEO requirements.
Whether opting for automatic suggestions or crafting a custom selection, SurgeGraph streamlines this critical stage of creating a compelling listicle.
Step 3: Generate Outline
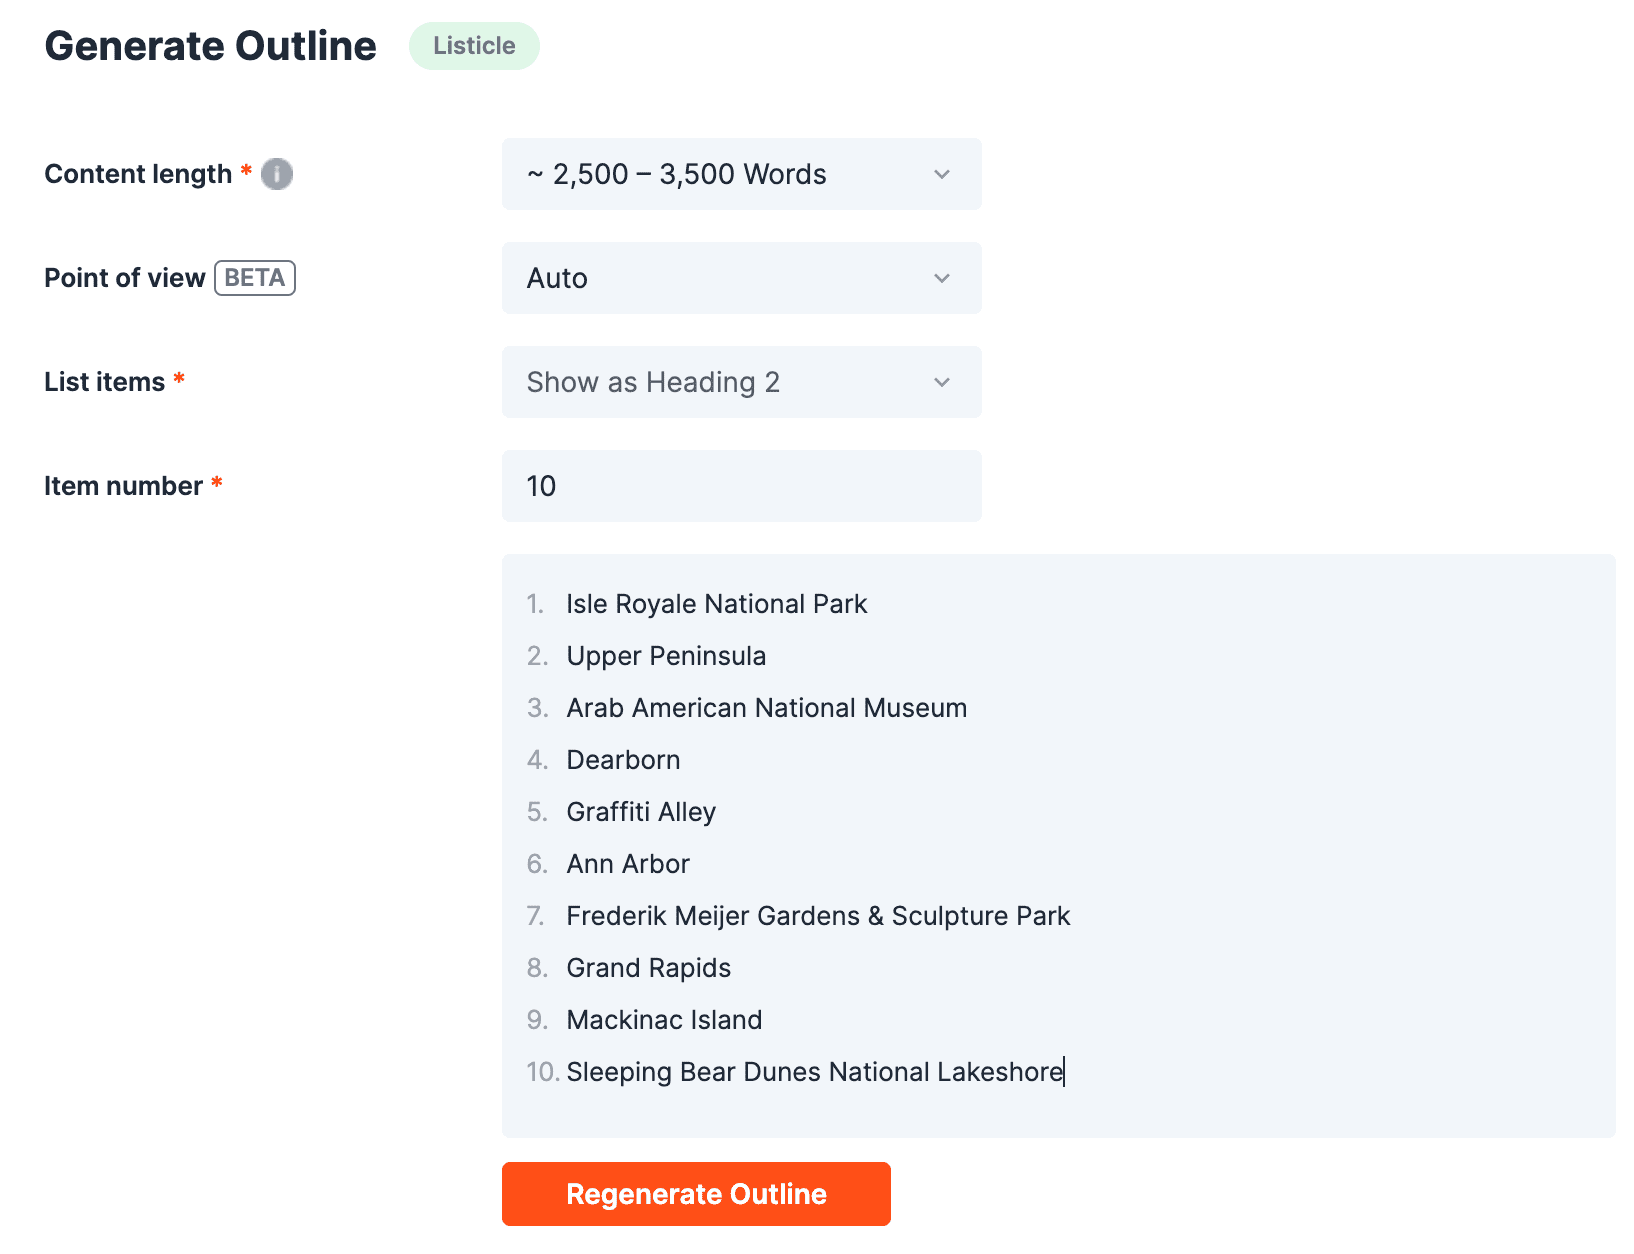
The next step is generating your outline.
First, consider the content length. While this is subjective and depends on the depth desired, we suggest looking at the SERP’s top 10 count as a guide. Avoid choosing a high word count, as it leads to repetitiveness and redundancy, especially if your item list is small.
Next, choose your point of view (POV). Decide whether you want to write from first-person, second-person, or third-person perspective. Leave it at auto if you want SurgeGraph to decide for you.
Reviewing the item list comes next – this list is fully editable, so go ahead make some changes if needed. You can also refresh the list by clicking on the “Regenerate Outline” button.
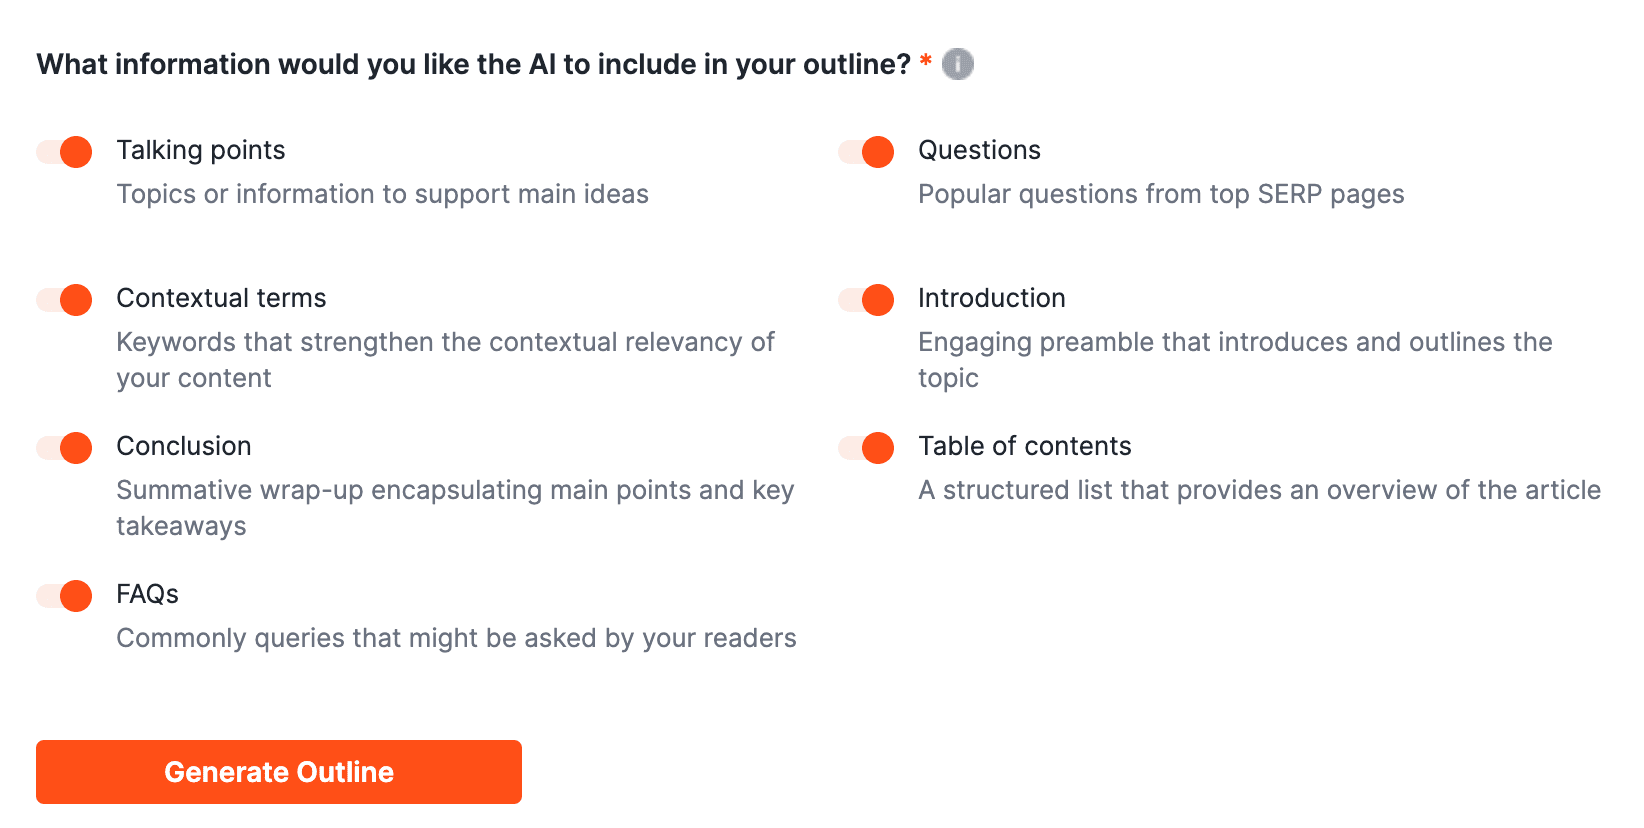
Lastly, decide which items you want automatically generated in your outline. Even if some items are excluded at this stage, they can still be auto-generated in the next step if needed.
Step 4: Review & Customize Outline
The outline is the backbone of your listicle. It’s crucial to review and customize it to ensure a well-structured and engaging final article.
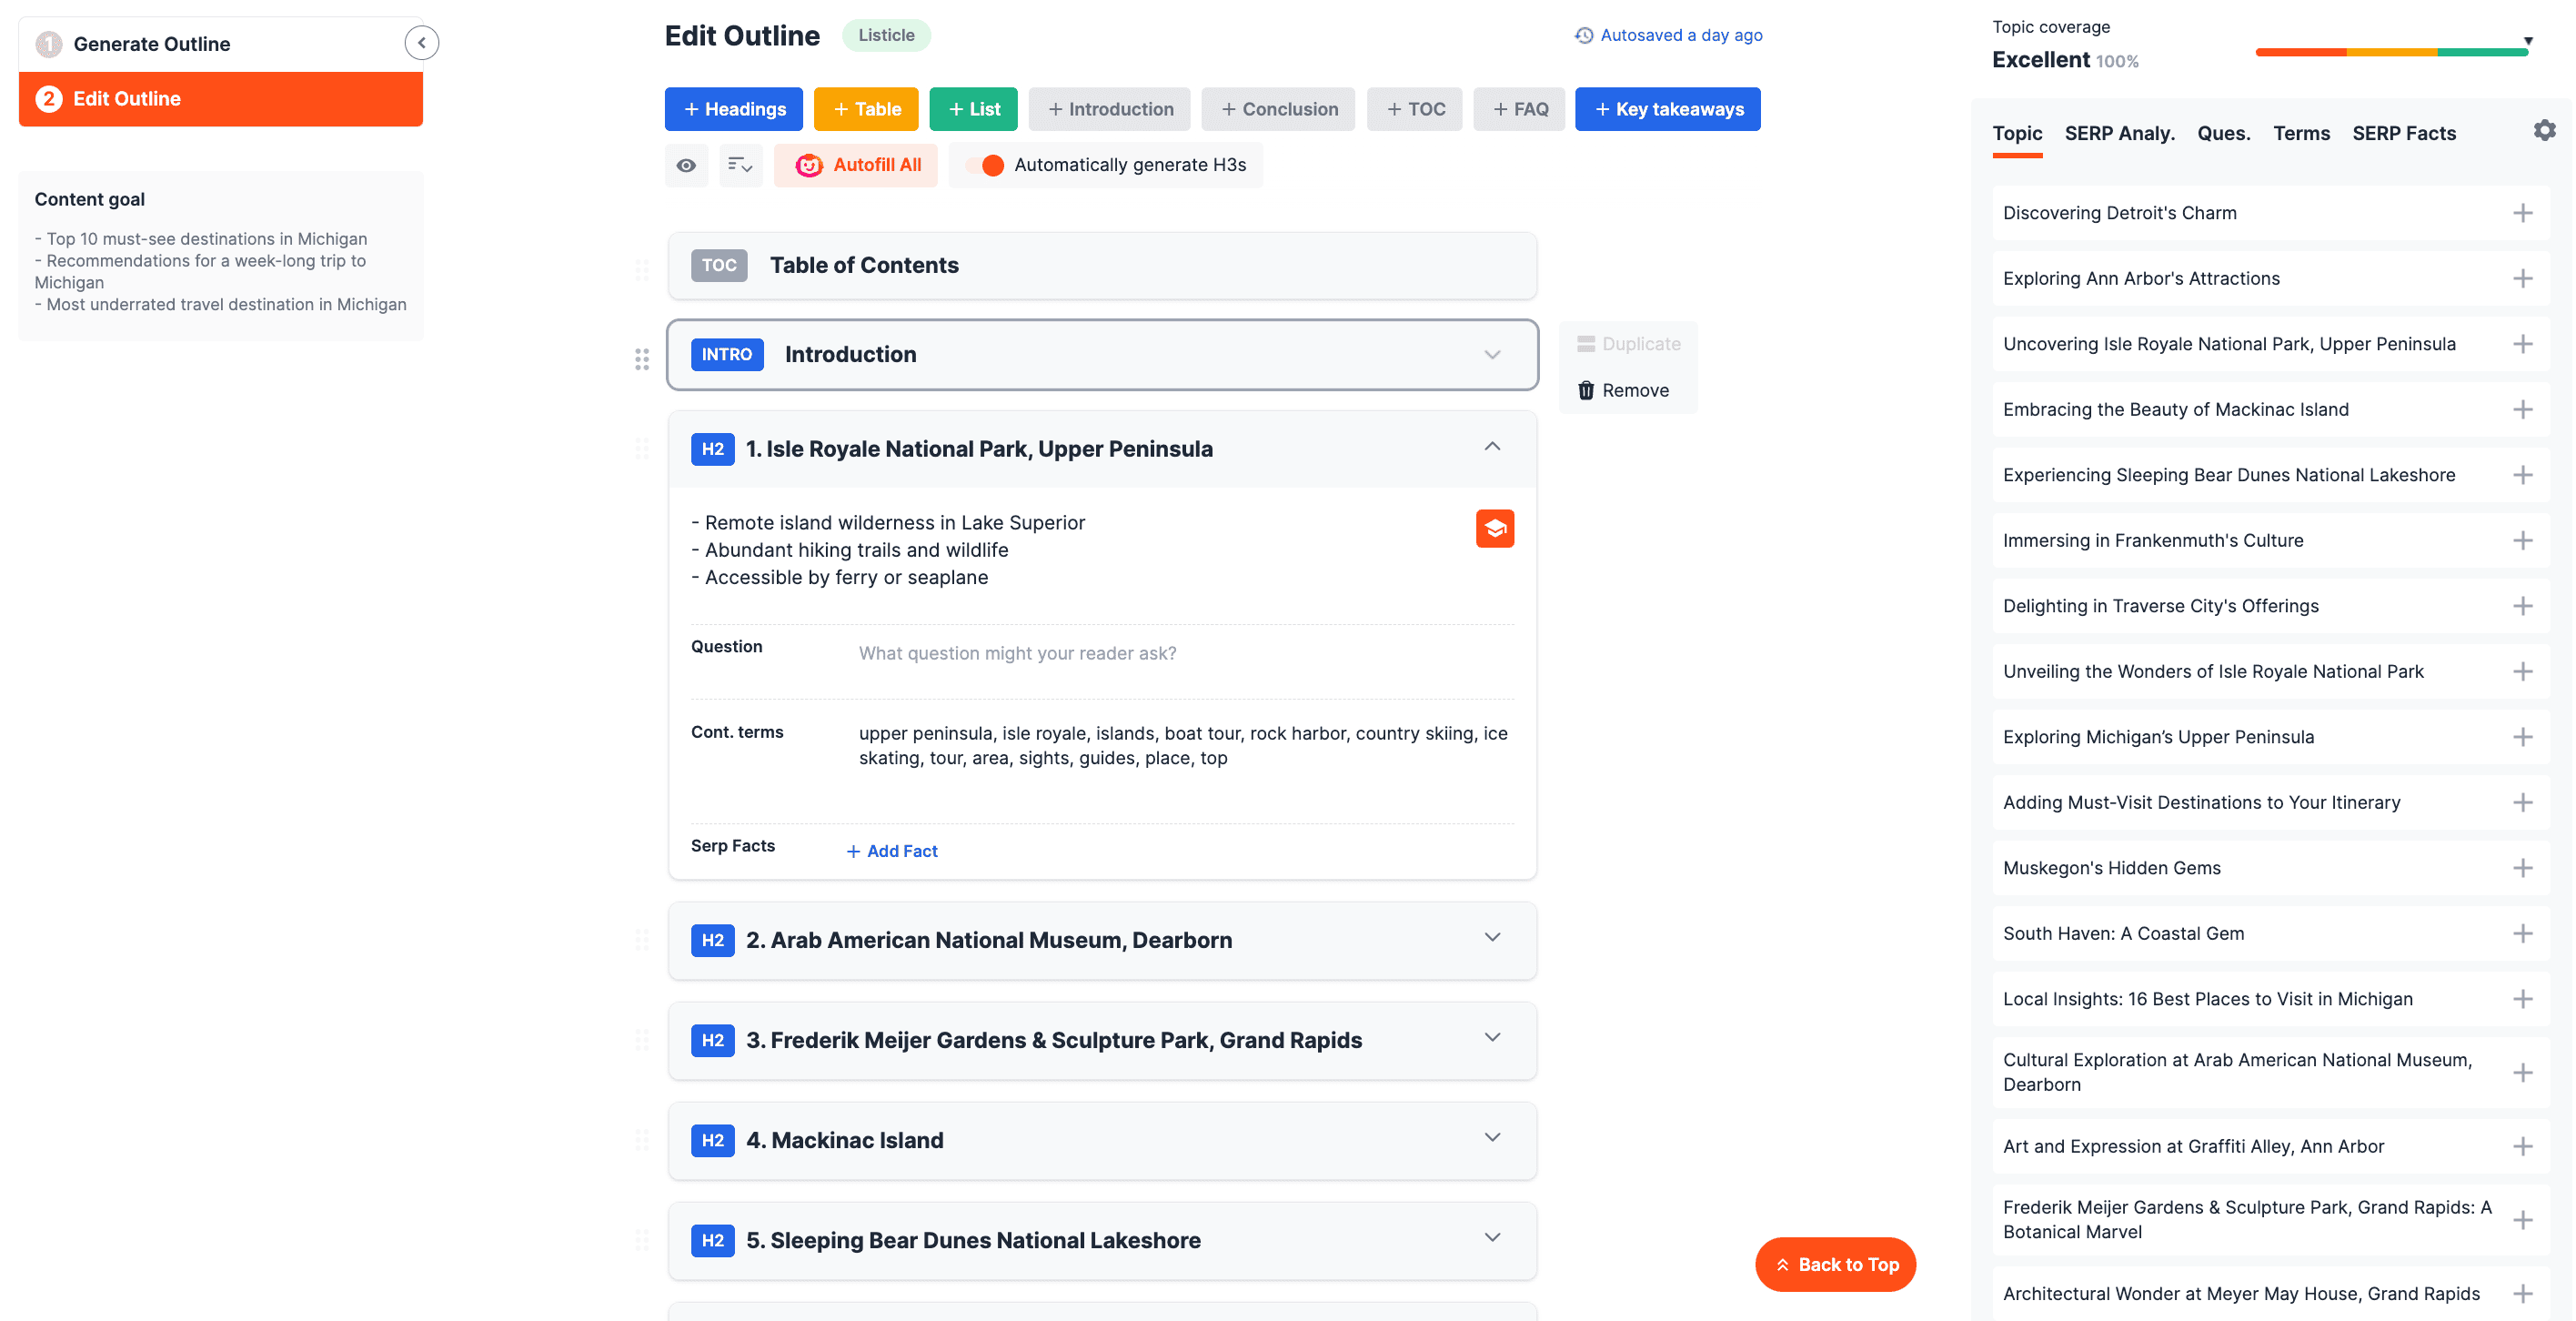
On the left-hand side, specify your content goal to make sure the listicle aligns with your main purpose and message.
Next, review and customize the headings. You can rearrange the order of the items by dragging the headings. Pro tip: collapsing the headings can make this process easier.
You also have the flexibility to add more headings, remove existing ones, or edit them as needed.
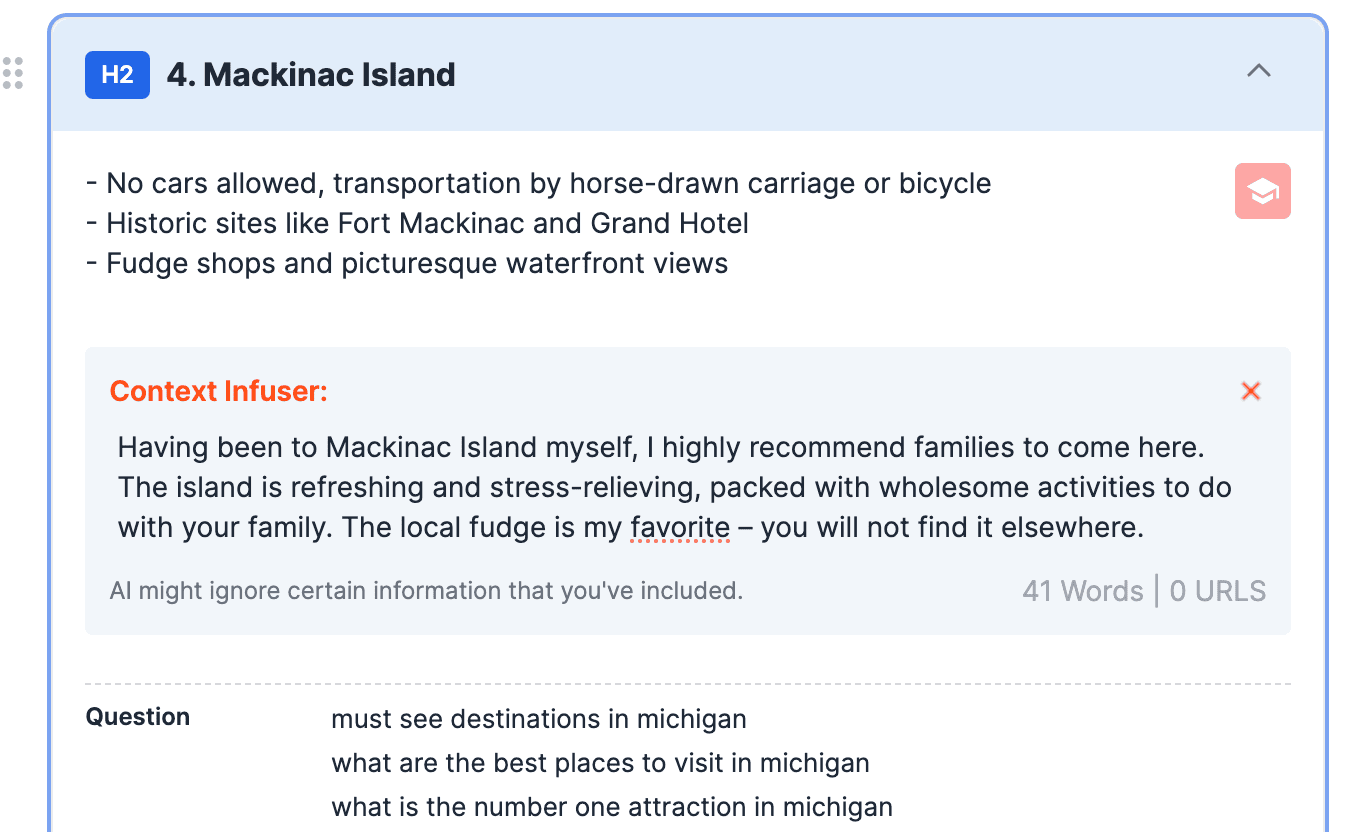
If you have additional information or personal insights you’d like to include in the listicle, use Context Infuser by clicking on the graduation cap icon.
Here’s an example:
Once you’re happy with the outline, hit “Start Writing”, choose your desired settings, and move on to the next step.
Want to try SurgeGraph for free?
Generate 20 documents
SEO tools (Auto Optimizer, Internal Linking, and more)
Once your content is finished generating, make sure to thoroughly review it for accuracy. Tweak any parts you want with Expert Command.
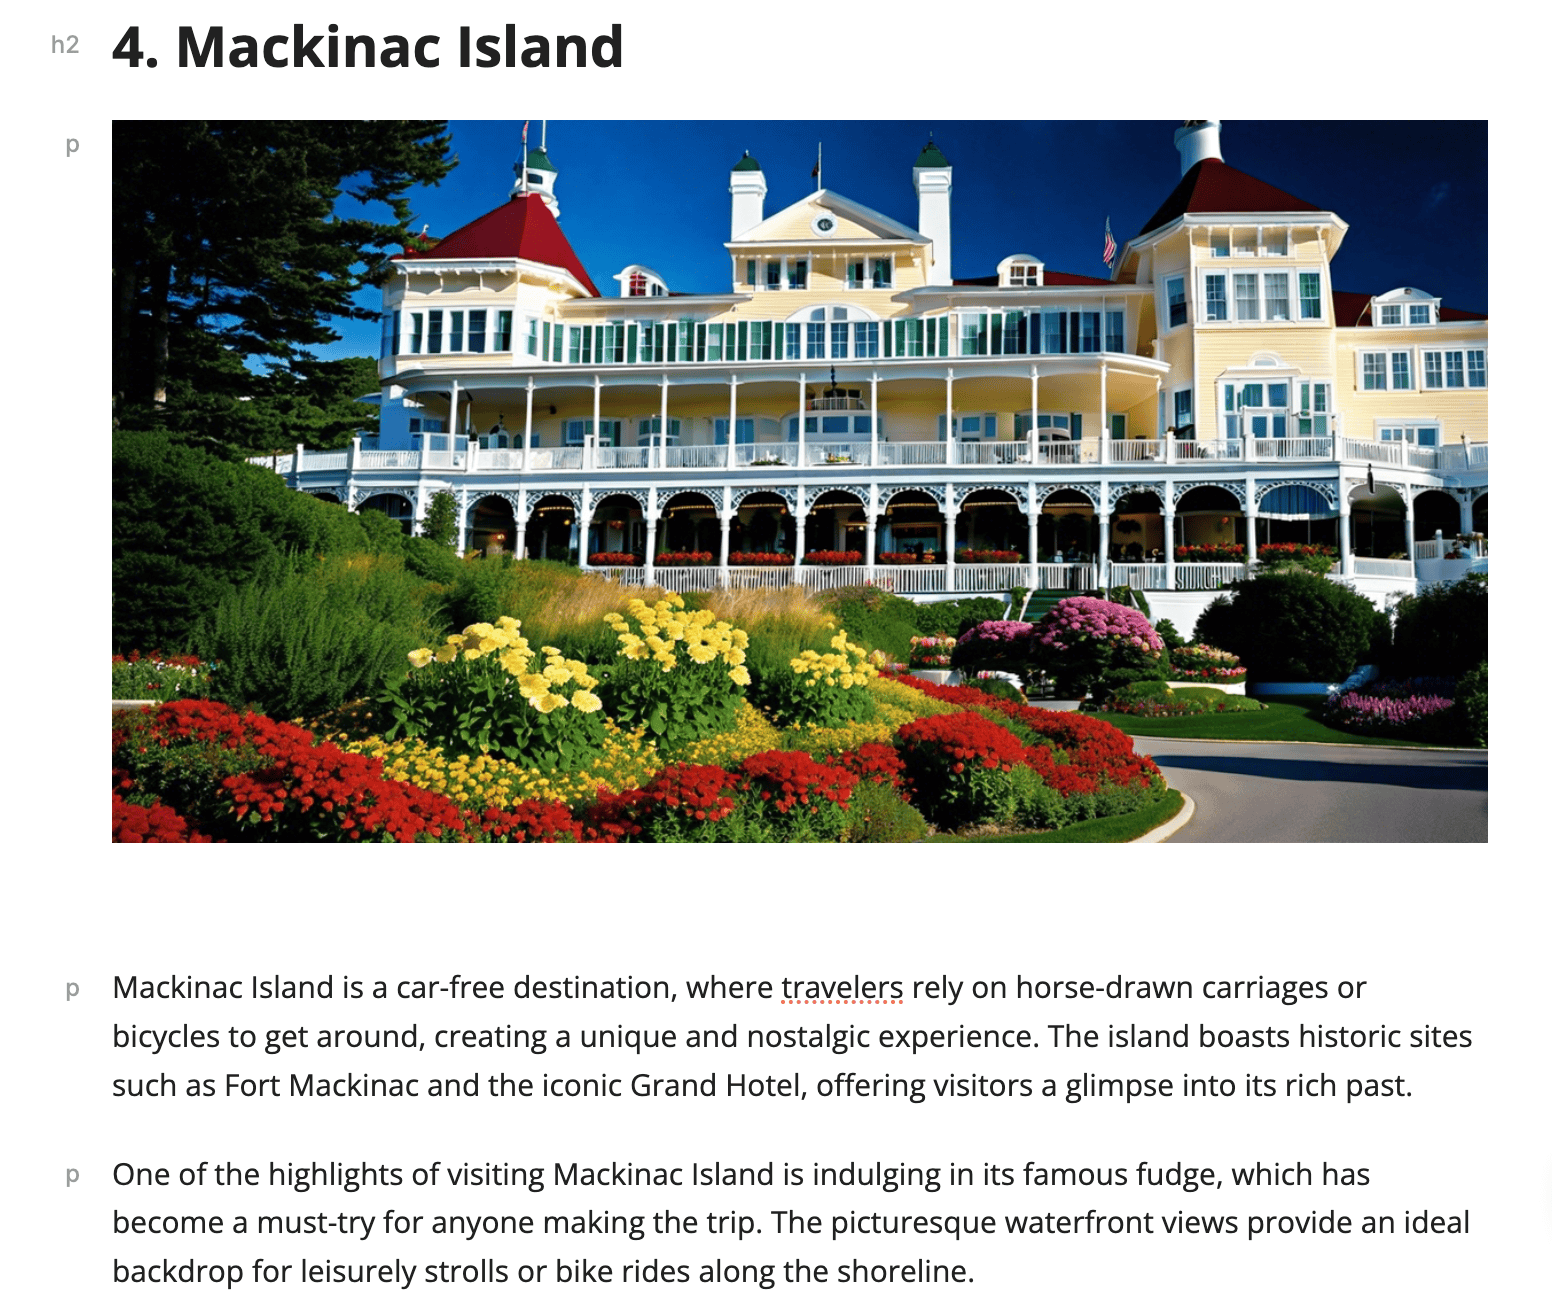
Then, use Content Vision, the in-app image generator, to add images for each item. Images enhance engagement and also illustrate the points effectively while breaking up long blocks of text.
The best thing about Content Vision is you only need to use simple prompts and don’t have to worry about complex prompting. We reprocess your prompts in the background so that you get images that look like they came from expert prompting.
Here’s a sample image generated from the prompt “Mackinac Island”:
Then, optimize your content using SurgeGraph’s SEO optimization features to ensure it is well-equipped to rank on search engines like Google.
Go to the SEO tab and click on “Auto Optimize.” Review the suggestions, and if you like them, accept them individually, or click Accept All to implement the changes in bulk.
Review the SEO suggestions checklist to see what other items you missed. Make sure to check off as many items as you can to boost your SEO score.
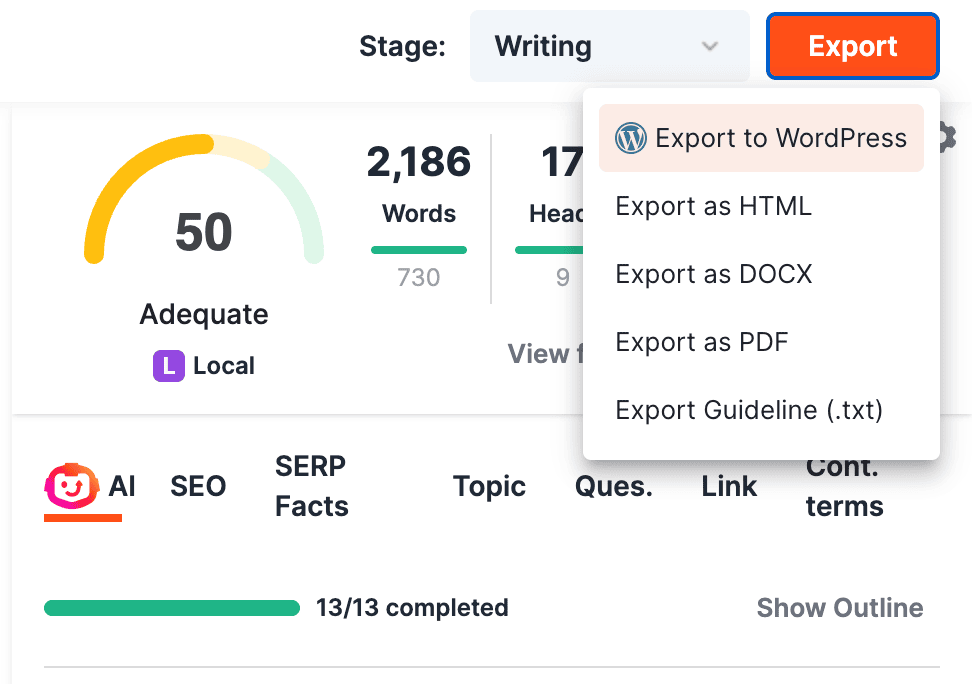
Step 6: Export & Publish
The final step is making your listicle available to the public to read!
Simply hit “Export to WordPress”, enter your credentials if you haven’t already, and choose whether to export it as a draft or instantly publish.
Do note that this feature will only export your content, the images, category, and URL slug, but not the meta description. So make sure to manually copy and paste the meta description from SurgeGraph into your WordPress. While we wish the meta description could be exported together, WordPress’ configuration simply doesn’t allow this, hence the workaround.
After publishing your listicle, make sure to share it across various social media platforms. As more people share and engage with the listicle, its reach expands exponentially.
Wanna Effortlessly 10x Your Clicks and Traffic With Listicles?
So, if you wanna capitalize on the traffic potential of listicles without all the effort, look no further than SurgeGraph’s expert Listicle generator.
Effortlessly write catchy listicles in under 5 minutes with SurgeGraph now: https://surgegraph.io
FAQs
1. What kind of listicles can I write with SurgeGraph?
As long as it’s a list of items, it goes. You can write a listicle of anything with SurgeGraph.
2. I have more questions. Who do I talk to?
Our support team is ready to help you out. Simply write an email to help@surgegraph.io.
Eli Taylor
Digital Marketer at SurgeGraph
Eli lives and breathes digital marketing and AI. He always seeks new ways to combine AI with marketing strategies for more effective and efficient campaign executions. When he’s not tinkering with AI tools, Eli spends his free time playing games on his computer.